· Nas · Technology · 8 min read
How to Deploy Your Website with Vercel for Free: Step-by-Step Guide
These days building a website is the easy part, but making it live is where most people get stuck. This step-by-step guide shows you how to deploy your website for free using GitHub and Vercel without any coding experience needed.
How to Deploy Your Website with Vercel for Free
Building a website is easier than ever with modern AI tools like v0, Lovable, or Claude Code. The challenge most people have however, is making it actually live for the world to see.
That’s what this guide is for. I’m going to walk you through the complete process of deploying your website for free using Vercel, from exporting your files to going live with a custom URL, without writing a single line of code from scratch, and all of it for free.
Here’s what we’ll cover:
- Phase 1: Prepare Your Project Files
- Phase 2: Set Up GitHub
- Phase 3: Push Your Code to GitHub
- Phase 4: Deploy with Vercel
- Phase 5: Final Touches and Custom Domains
- Pro Tip: Validate Before You Build
Total time to go live: under 15 minutes.
Phase 1: Prepare Your Project Files
Before you can deploy anything, you need your websites’ files saved on a folder in your computer.
Export Your Code
If you built your site using an AI tool like v0 or Lovable for example, look for a Download ZIP or Export button inside the tool. Click it to download your project files as a compressed folder.
If you built your site with Claude Code, your files are already in a local folder on your machine, so just skip straight to Phase 2.
Unzip the Folder
Find the downloaded ZIP file (usually in your Downloads folder) and extract it by double-clicking. You’ll see several subfolders and files inside. Don’t worry about understanding them all, just make sure they’re there. The important thing is that you have a single project folder containing everything.
Phase 2: Set Up GitHub
GitHub acts as a storage locker for your website’s code. Vercel connects directly to GitHub to build and host your site, so this step is going to be essential.
Create a GitHub Account
Go to github.com and sign up. The fastest way is to click Continue with Google and use your google credentials.
Create a New Repository
A repository (or “repo”) is essentially a project folder stored on GitHub. To create one:
- Click the green Create repository button on your dashboard
- Give it a name, it can be something like
my-portfolio-websiteormy-startup-site - Choose Private if you don’t want others to see your source code (your live site will still be public)
- Scroll down and click Create repository
GitHub will show you a page with setup instructions - keep this tab open. You’ll need the URL from this page in Phase 3.
Need help deploying your website or setting up your tech stack?
Get in Touch Today →Phase 3: Push Your Code to GitHub
This is the step that looks the most technical, but don’t worry, you’re not writing any code. You’re pasting a handful of commands into a terminal that connect your local folder to GitHub. Think of it like telling your computer: “sync this folder to that storage locker.”
Download VS Code
If you don’t already have it, download Visual Studio Code - it’s free and works on Mac and Windows. VS Code is the editor you’ll use to run these commands. (It’s also the best environment for using Claude Code if you want to keep building.)
Open Your Project Folder
Launch VS Code, go to File → Open, and select the unzipped project folder from Phase 1.
Open the Terminal
In VS Code, go to the top menu and click Terminal → New Terminal. A panel opens at the bottom of the screen. This is where you’ll paste the commands.
Run These Commands One by One
Copy and paste each line below into the terminal, pressing Enter after each one:
git initgit add .git commit -m "initial commit"git branch -M maingit remote add origin YOUR_GITHUB_URLgit push -u origin mainFor the fifth command, replace YOUR_GITHUB_URL with the URL from your GitHub repository page (it looks like https://github.com/yourusername/your-repo-name.git). You can copy it directly from the GitHub tab you left open.
After running git push, GitHub will ask you to authenticate, follow the prompts to log in. Once done, refresh your GitHub repository page and you should see your project files there.
Watch the Full Video Walkthrough
If you’d rather follow along visually, here’s the complete video tutorial covering every step above:
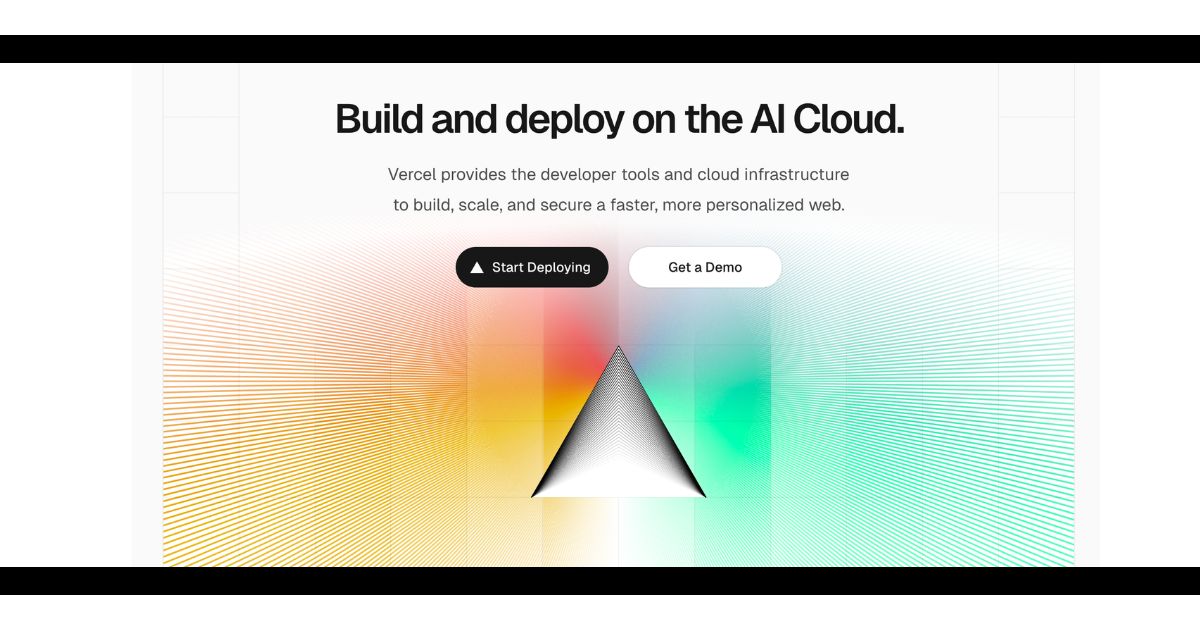
Phase 4: Deploy with Vercel
Your code is now on GitHub. This is where Vercel takes over as it reads your code, builds the site, and puts it online. The whole process takes about two minutes.
Create a Vercel Account
Go to vercel.com and click Continue with GitHub. This links your Vercel and GitHub accounts automatically - no separate signup needed.
Import Your Project
Once inside your Vercel dashboard:
- Click Add New… → Project
- You’ll see a list of your GitHub repositories - find yours and click Import
Deploy
Vercel automatically detects your framework (Next.js, Astro, React, etc.) and pre-fills the right build settings. You don’t need to change anything - just click Deploy.
Vercel will run the build process. You’ll see logs scrolling in real time. This usually takes 30–90 seconds.
Phase 5: Final Touches and Custom Domains
View Your Live Site
When the deployment finishes, you’ll see a success screen with a link to your live website - something like yourproject.vercel.app. Click it. Your site is live.
Share that link. Test it on your phone. Send it to someone for feedback.
Customize Your Vercel URL
If you don’t like the default URL Vercel assigned, go to Settings → Domains inside your Vercel project. You can edit the Vercel subdomain to something cleaner, like your-brand.vercel.app.
Connect a Custom Domain
If you’ve purchased a domain (like a .com from Namecheap or Google Domains), you can connect it to Vercel in the same Settings → Domains page:
- Click Add Domain
- Enter your domain name
- Vercel gives you DNS records to add on your domain registrar’s side
- Once the DNS updates propagate (usually within minutes to a few hours), your custom domain is live
From this point on, every time you push an update to GitHub, Vercel automatically re-deploys your site. No manual steps needed.
Want someone to handle the deployment and setup for you?
I'm happy to help - get in touch and we'll get your site live.
Get in Touch →Pro Tip: Validate Before You Build
Here’s something most people skip and it ends up costing them months of wasted time and money.
Before you build a full product, launch a landing page with a lead capture form where people can register their interest first. You get real validation data before committing serious time or money to building something that may not have demand.
You can do this with LeadLanding, without even spending money on a domain. Describe your idea with a prompt, get a live landing page in under a minute, and start collecting leads before you’ve written a line of code. You can also check out the LeadLanding page to learn more about how it works.
Do this for a few of your ideas simultaneously, see which one gets the most interest, and build the winner. By launch day, you’ll already have a list of people ready to become your first users.
Quick Reference: The Full Deployment Checklist
| Step | What To Do | Tool |
|---|---|---|
| Export files | Download ZIP from your AI builder | v0, Lovable, Claude Code |
| Create repo | Set up a new GitHub repository | github.com |
| Push code | Run 6 git commands in VS Code terminal | VS Code |
| Deploy | Import repo and hit Deploy | vercel.com |
| Go live | Share your .vercel.app URL or connect custom domain | Vercel Settings |
Nas’ Note: The Gap Is Smaller Than You Think
Two years ago, deploying a website required understanding servers, SSH keys, and hosting configurations. Today, the entire process takes 15 minutes and costs nothing.
If you can build a site with Claude Code, you can deploy it. If you can build a landing page with v0, you can put it live. The tools have caught up - the only thing stopping most people is not knowing the steps.
Now you know them.
Liked what you just saw? Follow me on Youtube or connect on LinkedIn for more insights on growing your business online.
Video Guides you might like:
 How to use Claude Code to build Apps
  10 Best Claude Code Skills for beginners
  How to create AI Video Animations with Claude + Remotion
  How to use Claude Code to build a Website
  How to use Claude Skills for beginners
  How to write the PERFECT CLAUDE.md file
  Automate 80% of your Marketing with Claude
  How to use Claude Code — The basics
  Work 2X Faster with Claude Cowork
  How to NEVER Hit Claude Usage Limits Again