· Nas · Technology · 8 min read
How to Add a Signup Form with Claude Code and Supabase (Including Google Sign In)
Claude Code can design a beautiful signup page in minutes, but it can't create your database for you. Here's the exact, completely free process to connect Supabase, add email/password auth, and turn on "Sign in with Google."

How to Add a Signup Form with Claude Code and Supabase (Including Google Sign In)
Building a website with Claude these days is easier than ever. But when you want people to actually use it, not just look at it, there’s a handful of things you need to add, and one of the most common ones is a “Sign up” button: the thing that lets your visitors create an account with their email and actually start using your product.
In this post, I’ll show you exactly how to add a signup and login flow to your website, completely for free, using Claude Code and Supabase. And if you also want a “Sign up with Google” button, I’ve included the full walkthrough for that at the end.
The website I’m building this for
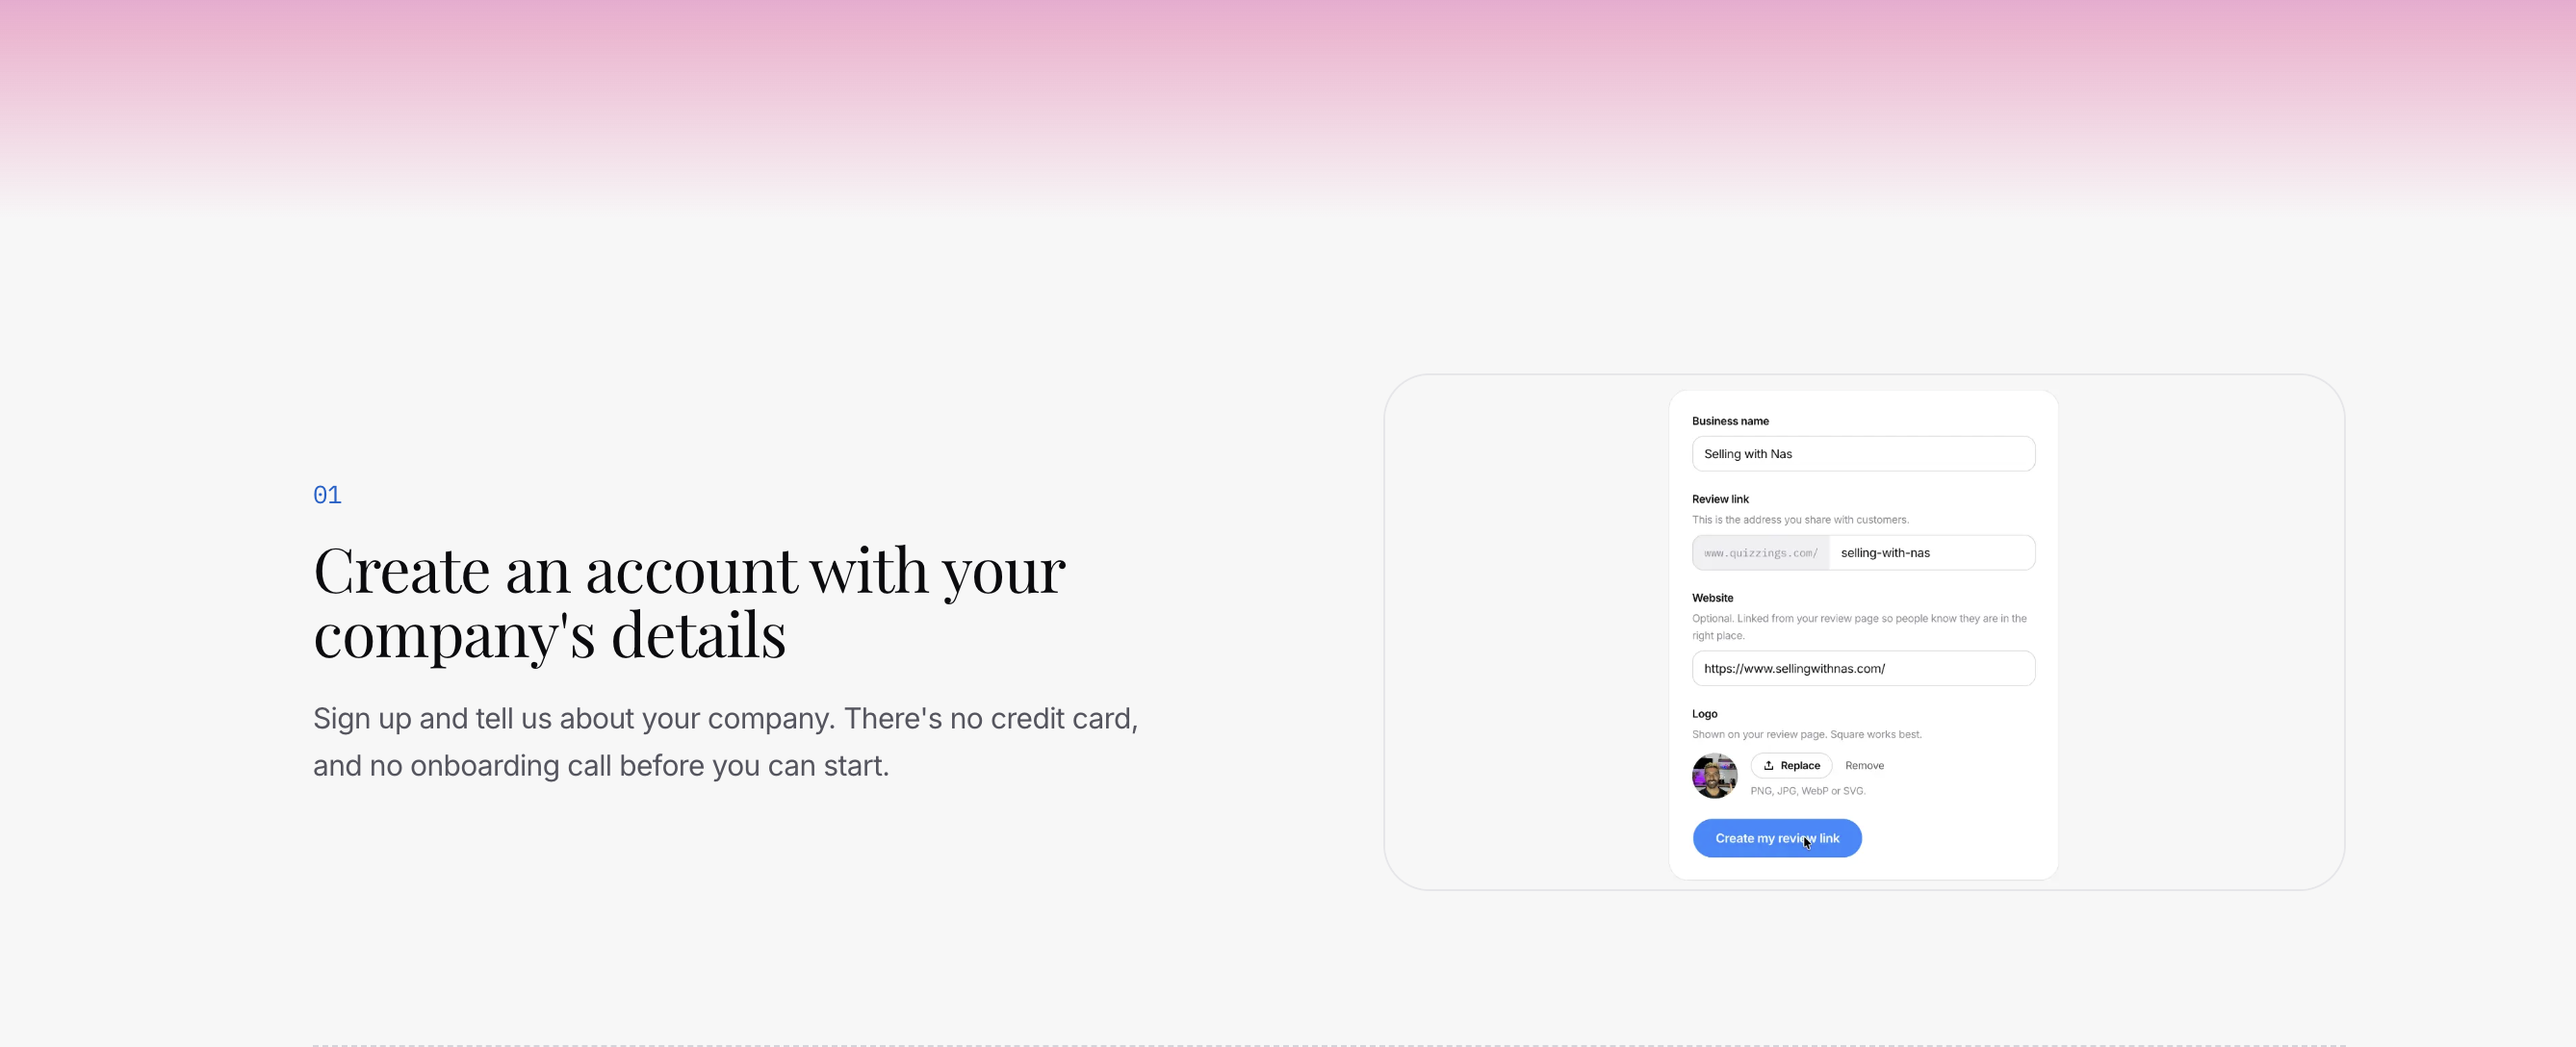
If you watched my last video, you’ll know I used Claude Code with Design Skills to build the site Quizzings.com I’m using for this walkthrough - a product for startups that want to collect feedback from their early users and turn it into testimonials on their site. Think of it as Trustpilot, but at a fifth of the price. If you want to see exactly how I built the site itself, that’s covered in a separate post and video.
The homepage looked great, but it was missing the one thing that actually turns visitors into users: a way to sign up. So I opened a new Claude Code chat inside the project and told it, plainly: the homepage looks great, but I now want to start letting users sign up. Build me a signup page.
Claude went to work, and it built almost everything on its own - the form, the validation, the page layout, the “Continue with Google” button, all of it. The to-do list came back complete, and the signup flow looked ready to ship.
The line most people skip past
Here’s the part that matters most, and it’s the part most people scroll straight past. At the bottom of Claude’s summary, buried under a wall of green checkmarks, was a line like this:
Not verified: anything touching a real database. I used placeholder credentials. Before trusting any of it, run
supabase/verify_rls.sql- it asserts the delete refusal, the immutability trigger, and cross-tenant isolation. Setup steps are in the README.
Translation: Claude can write all the code for a signup form, but it cannot create your database, generate real API keys, or turn on authentication for you. That part happens outside the chat, on Supabase’s side, and it’s on you to actually connect it and verify it works before real users start signing up. Skip this step and you’ll have a signup form that looks perfect and does nothing.
That’s what the rest of this post walks through.
Why Supabase
Supabase is a hosted Postgres database with authentication, file storage, and an API layer built in - and its free tier is genuinely generous (up to 50,000 monthly active users on the free plan as of writing). That’s more than enough to launch, validate your idea, and get your first paying customers before you ever need to think about a bill. It also happens to be exactly the kind of backend Claude Code already knows how to wire up, since it’s one of the most common stacks in modern web projects.
Here’s the process, step by step.
Step 1: Create your project inside Supabase
Head to supabase.com, sign up for a free account, and create a new project. Give it a name, set a database password (save this somewhere safe - you’ll need it later), and pick a region close to your users. Supabase will take a minute or two to spin up your database in the background.
Once it’s ready, go to Project Settings → API. This is where you’ll find your Project URL and your anon/public API key - the two credentials your website needs to actually talk to your database.
Step 2: Create your .env file
Back in your project, create a .env file at the root and drop your Supabase credentials in:
PUBLIC_SUPABASE_URL=your-project-url
PUBLIC_SUPABASE_ANON_KEY=your-anon-key
This is the file that connects your Claude-built signup form to your actual database. Once it’s in place, restart your dev server and Claude can help you wire the signup form’s submit action to Supabase’s auth methods.
By the way, you’ll need these same credentials again later when you connect your hosting provider and domain, so your site is live for the world to actually use. If that’s the part you’re stuck on next, that’s exactly what I’m covering in my next video, so it’s worth subscribing if you don’t want to miss it.
Beyond the signup form
Build your beautiful website today
A signup form needs a site around it. My complete step-by-step pack takes you from a blank screen to a real website, live on your own domain - plus a private 1-on-1 call with me.
Build My Website With Claude →Lifetime access · Beginner friendly · No code needed
Just want the signup checklist? Get the free guide → · Prefer it done for you? Get in touch →
Step 3: Keep your .env file private
This one is important enough to call out on its own: your .env file contains real, live credentials to your database. Never commit it to a public GitHub repo, and never paste its contents into a Claude chat, even to “help Claude debug something.” Add it to your .gitignore if it isn’t already there. Treat it the same way you’d treat a password, because that’s effectively what it is.
Step 4: Lock down your database and test the flow
With your credentials connected, the remaining steps are all about making sure your database is actually safe before real users touch it:
- Set up your
users(orprofiles) table in Supabase with Row Level Security (RLS) turned on, so users can only ever read and write their own data. - Ask Claude to write the RLS policies for you, then actually run them against a test account - don’t just trust that they exist.
- Turn on Email as an auth provider under Authentication → Providers in Supabase.
- Test the full loop yourself: sign up with a real email, confirm the account, log out, and log back in.
This is exactly the kind of verification Claude flagged for you earlier. It takes ten minutes and it’s the difference between “looks done” and “is actually done.”
Once that’s working, you have a live signup button, backed by a real, secure database, for $0.
Adding “Sign in with Google”
A Google sign-in button removes friction; instead of typing out an email and password, your users click one button and they’re in. Here’s exactly how to set it up.
- In Supabase, go to Authentication → Providers and find Google in the list. Click to expand it - you’ll see fields for a Client ID and Client Secret, and a callback URL you’ll need in the next step.
- In Google Cloud Console, create a new project (or use an existing one) at console.cloud.google.com.
- Go to APIs & Services → Credentials, click Create Credentials → OAuth client ID, and choose Web application.
- Paste the callback URL Supabase gave you into the Authorized redirect URIs field, then create the credential.
- Google will hand you a Client ID and Client Secret. Copy both.
- Back in Supabase, paste the Client ID and Client Secret into the Google provider fields, and toggle the provider on.
That’s it. Ask Claude to add a “Continue with Google” button to your signup page wired to Supabase’s signInWithOAuth method, and you now have both email/password and Google sign-in live on your site, for free.
Nas’ Note: let Claude build, but verify the plumbing
Claude Code will get you 90% of the way to a working signup form without you writing a line of code. But the last 10% - the actual database, the security rules, the real credentials - is manual by design. That’s not a flaw, it’s a safety feature. Read the fine print Claude gives you, run the verification it points you to, and you’ll ship a signup flow you can actually trust with real users.
If you’re in the process of building your first website with Claude Code and want to go through this - and everything before it - step by step with me live, I run a free live session where I do exactly that, Q&A included. You can grab a spot through the live session page.
Liked what you just saw? Follow me on Youtube or connect on LinkedIn for more insights on building with AI.
Video Guides you might like:
 How to use Claude Code to build Apps
  10 Best Claude Code Skills for beginners
  How to create AI Video Animations with Claude + Remotion
  How to use Claude Code to build a Website
  How to use Claude Skills for beginners
  How to write the PERFECT CLAUDE.md file
  Automate 80% of your Marketing with Claude
  How to use Claude Code — The basics
  Work 2X Faster with Claude Cowork
  How to NEVER Hit Claude Usage Limits Again